How to fix your Dell AC Adapter


Blogging with my Treo... Man I love this thing.
=20
This repair covers a broken cable just past the point where the part that powers your laptop goes into the power brick. If your unit has a short then the little green light will not come on and the unit will
beep rapidly (it is a very low beep).=20
Tools that you will need: Soldering iron, electrical tape, heatshrink, screwdriver small-medium.
=20
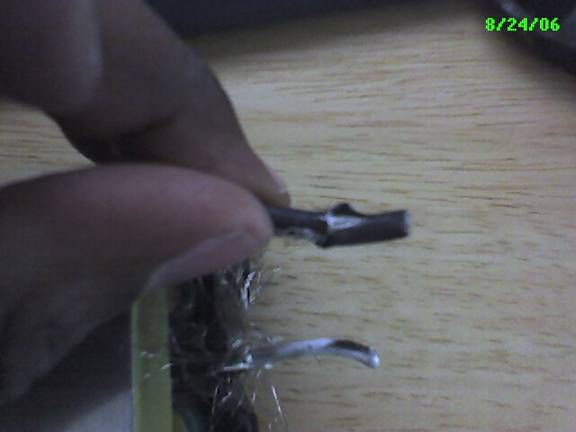
(Visible wire Damage)
1. First Unplug it from the wall and remove the power cord part.
For good measure wait a bit because caps may still hold a small charge. It should be gone though by the time you actually pry it open.
2. You will have to pry it apart using a screwdriver that is thin
enough to slip in between the plastic pieces. Start at the end where the power cord plugs into the wall.
3. She's gonna be a bear so be careful.
4. Once you get it open unscrew the single screw on one side. =20
(Remove screw and bend open)
5. Bend the aluminum up and out of the way. Be careful because
insulating glue will be holding it together. Gently pull it apart.
6. Once you have that open inspect your wires that connect to the
motherboard. =20
7. If you see that the wires have indeed shorted out like the ones
in my picture then you are free to cut them if you have no wire damage then I would highly suggest that you stop and simply buy a new one. Cut them as far away from the mother board as you can. Cut out the part that you have found visibly damaged.
8. Your cable that connects to your laptop is basically three
wires. The outer shielding is the ground or the third prong on your AC plug. That is the black cable in the picture above. This will be loose braided strand cable that you will have to twist and harness into a
solid piece of cable.
9. The same thing with your return cable it will also be braided
cable and it is important that neither of these two braids touch each other or your notebook is toast. You will have to insulate these. =20
10. The last little wire is actually so called hot wire. That is the
burned wire in the picture above.
11. Now I screwed mine up and recovered with electrical tape.
Ultimately you want to completely isolate the three cables. You also
want to isolate them from touching anything else inside of the power
brick. Or else Pop goes the charger or you if you have a bad ground.=20
12. I wouldn't advise desoldering and resoldering to the main board
because you do not have a schematic. It is cramped in there anyway and there are some tiny components that could get fried if you apply too
much heat to them. I would just splice the cables and roll out from
there.=20
13. What I did was I spliced the cables and then folded them back on
each other so that they would have less of a chance of touching each
other and soldered them together. I wanted to cover them with heatshrink but it shrank prematurely so I had to jimmy rig a bunch of electrical tape to insulate all of the wires.
14. Once you have all of your wire resoldered and connected to the
correct places making sure that all wires are completely insulated and put it all back together and viola you are back in business.
15. First thing before you snap it all back together though is to
place it back into the plastic carriage without the coppertop on and
plug it up and make sure that it doesn't go pop. Also make sure that
your green light is on. If all is a go then put it all back together and test it one more time to be sure. If all is fine then you have
succeeded at saving yourself $75 from Dell.
=20
Comments
Post a Comment